Lightroom
Make your images match the moment.
Easy ways to adjust exposure, color, and more let you create photos that capture your vision.
Editing made easy.
Whether you’re using Lightroom on desktop, mobile, or web, you can make basic edits to brightness, contrast, and more — so you’ve got the perfect shots to share with friends and family.
Preset it and perfect it.
For a consistent look and feel, let Lightroom do the work with presets. Apply filters in a click with premium presets for every style — and add presets to specific areas of your photo for more focused edits.
Edit from anywhere.
Pick up where you left off with Lightroom on mobile, desktop, or web — your projects will sync automatically so you’re always looking at your latest edits.
Level up your skills.
Experience informative step-by-step tutorials right inside Lightroom, and find even more inspiration from the community in Lightroom Discover.
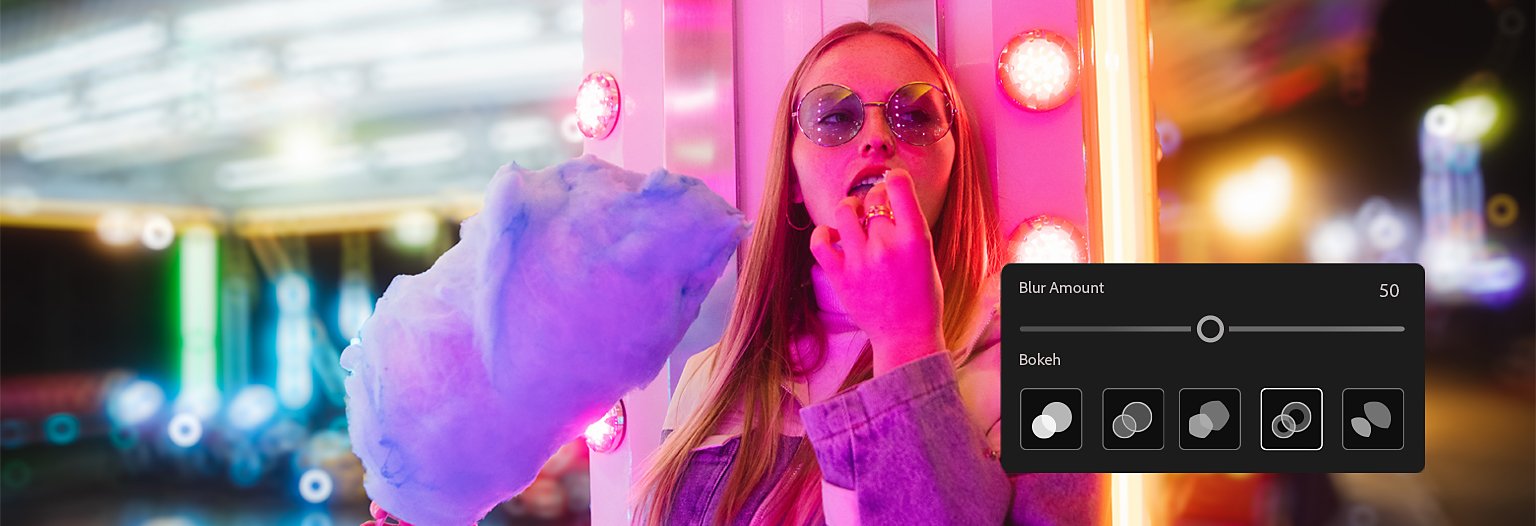
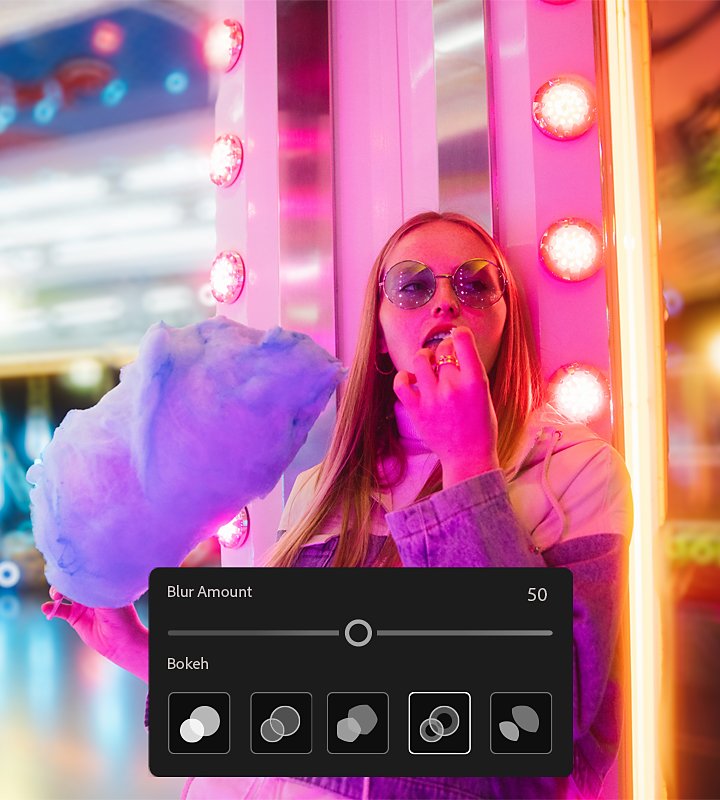
Get down to the last detail.
Fine-tune your photos with maximum control and precision when you edit with Lightroom for desktop.